Difference between revisions of "Upload Audio Messages"
Jump to navigation
Jump to search
(→Upload Audio To The Controller) |
(→Upload Audio To The Controller) |
||
| Line 22: | Line 22: | ||
* The '''Group Index''' reflects the '''Message''' in EMT - '''Group Index 1''' is '''Message 1''', '''Group Index 2''' is '''Message 2''' and so on. | * The '''Group Index''' reflects the '''Message''' in EMT - '''Group Index 1''' is '''Message 1''', '''Group Index 2''' is '''Message 2''' and so on. | ||
* Browse to the .wav file you want to upload. | * Browse to the .wav file you want to upload. | ||
| − | * Click | + | * Click '''Upload'''. |
[[Category:Getting started]] | [[Category:Getting started]] | ||
Revision as of 12:48, 6 July 2016
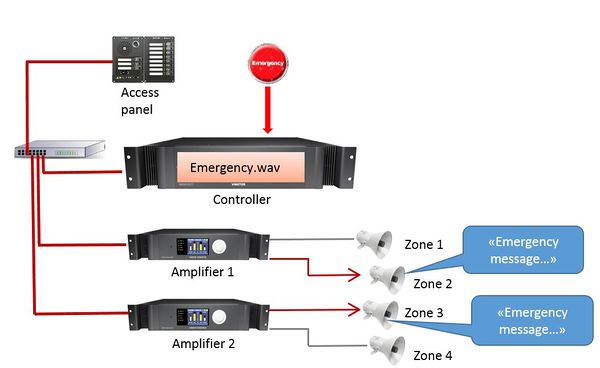
This article describe how to upload prerecorded messages to the Exigo Controller.
Uploaded messages can be dispatched in the system.
The Audio Message must be in .wav format:
- 16kHz sample rate
- 16 bit resolution
- Mono
A guide on how to generate .wav files can be found here.
Upload Audio To The Controller
The audio messages are uploaded via the web interface of the Primary System Controller PSC:
- Log in to the Primary System Controller. Default username: admin and password: alphaadmin.
- Navigate to System Configuration > Messaging.
File:Upload Messages 1.JPG
Upload Messages
- Select Message Group 30 in Message Group.
- The Group Index reflects the Message in EMT - Group Index 1 is Message 1, Group Index 2 is Message 2 and so on.
- Browse to the .wav file you want to upload.
- Click Upload.
