Difference between revisions of "Setting up redundant controller"
Jump to navigation
Jump to search
(→Adding Amplier(s)) |
|||
| Line 28: | Line 28: | ||
Follow the wizard at make the appropriate setting, then press '''Finish'''. | Follow the wizard at make the appropriate setting, then press '''Finish'''. | ||
| − | === Adding | + | === Adding Amplifier(s) === |
| − | + | To add amplifier(s) to the system: | |
| + | * Go to '''Components''' view | ||
| + | * Locate the '''Rack Mounted Devices''' | ||
| + | Here it is possible to drag the appropriate ENA amplifier(s) to the system: | ||
Revision as of 13:43, 30 March 2017
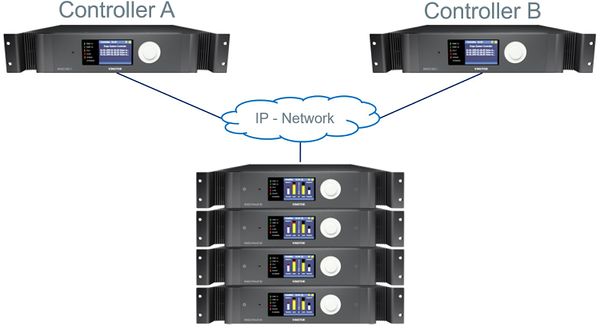
This article will explain how to setup and configure a Exigo system with redundant controller (ESC1).
Not all projects need a full A-B system. Sometimes the requirement is a singel system but with a redundant controller.
This is done by configure a A-B system and adding amplifiers and access panels.
Exigo Management Tool Setup
- Start the Exigo Management Tool
- Click Projects at the lower-left of the window.
- Click New
- Click the New Database tab
- Click the right-arrow icon at the bottom of the window
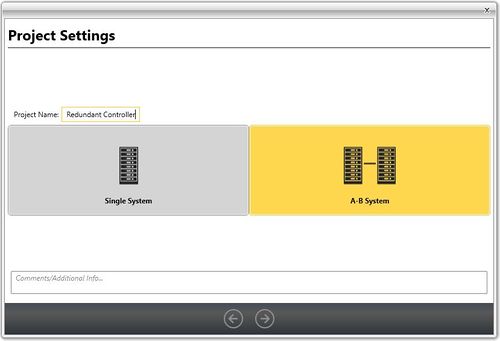
- Enter a project name in the Project field
- Select the A-B System tab
- Click the right-arrow icon at the bottom of the window
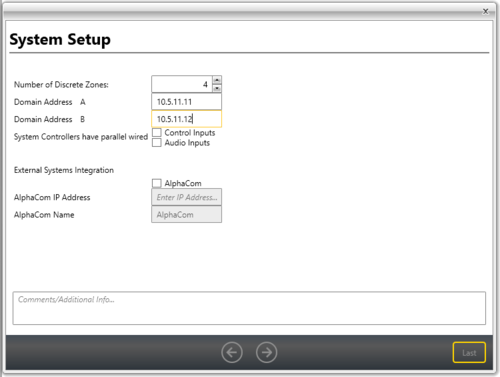
- Enter IP address for Controller A in Domain Address A
- Enter IP address for Controller B in Domain Address B
Follow the wizard at make the appropriate setting, then press Finish.
Adding Amplifier(s)
To add amplifier(s) to the system:
- Go to Components view
- Locate the Rack Mounted Devices
Here it is possible to drag the appropriate ENA amplifier(s) to the system:


