Difference between revisions of "Control Outputs"
Jump to navigation
Jump to search
(→Control Outputs - Connections) |
|||
| Line 5: | Line 5: | ||
** Amplifiers | ** Amplifiers | ||
** Access Panels ('''Not''' EX panels) | ** Access Panels ('''Not''' EX panels) | ||
| − | |||
| − | |||
| − | |||
| − | |||
| − | |||
| − | |||
* Outputs are used e.g. for: | * Outputs are used e.g. for: | ||
| Line 21: | Line 15: | ||
[[File:Control_outputs_1.JPG|thumb|left|700px|Rack devices]] | [[File:Control_outputs_1.JPG|thumb|left|700px|Rack devices]] | ||
<br style="clear:both;" /> | <br style="clear:both;" /> | ||
| + | |||
| + | * Rack devices (Controllers/Amplifiers): | ||
| + | ** 6 NO/NC relays and 24V DC outputs (200 mA). | ||
'''Connections on access panels''' | '''Connections on access panels''' | ||
[[File:Control_outputs_2.JPG|thumb|left|700px|Rack devices]] | [[File:Control_outputs_2.JPG|thumb|left|700px|Rack devices]] | ||
<br style="clear:both;" /> | <br style="clear:both;" /> | ||
| + | |||
| + | * Access Panels: | ||
| + | ** 2 NO/NC relays, and 6 digital outputs. | ||
==Configuration== | ==Configuration== | ||
Revision as of 07:56, 9 August 2016
This article describes the control outputs on Exigo in general.
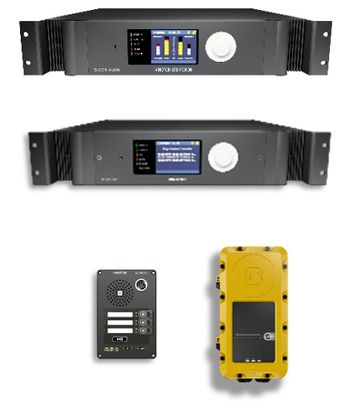
- Control Inputs are available on:
- System Controller
- Amplifiers
- Access Panels (Not EX panels)
- Outputs are used e.g. for:
- Visual Call/Audio Indication
- Local mute of nearby loudspeakers
- Volume override
Control Outputs - Connections
Connections on rack devises
- Rack devices (Controllers/Amplifiers):
- 6 NO/NC relays and 24V DC outputs (200 mA).
Connections on access panels
- Access Panels:
- 2 NO/NC relays, and 6 digital outputs.
Configuration
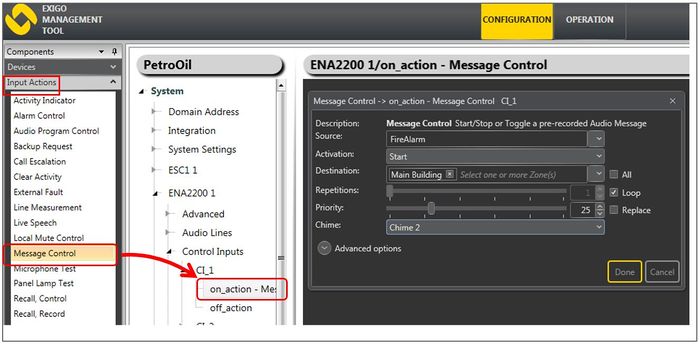
Configuration of Control Outputs are done in EMT:
- In Components view open Input Actions
- In System, identify the device and expand to Control Inputs
- Drag the desired Input Action to the on_action or the off_action
- Set relevant parameters in the dialog box that appears


