Difference between revisions of "Upload Chimes"
Jump to navigation
Jump to search
| Line 14: | Line 14: | ||
** Uncompressed PCM will give approx. 5 minutes (320 seconds). | ** Uncompressed PCM will give approx. 5 minutes (320 seconds). | ||
** Using MS ADPCM will give approx. 21 minutes (1280 seconds) (MS ADPCM can be used for speech). | ** Using MS ADPCM will give approx. 21 minutes (1280 seconds) (MS ADPCM can be used for speech). | ||
| − | * | + | * * Maximum 99 chimes. |
==Upload Audio To The Controller== | ==Upload Audio To The Controller== | ||
Revision as of 14:30, 30 April 2018
This article describe how to upload chimes to the Exigo Controller.
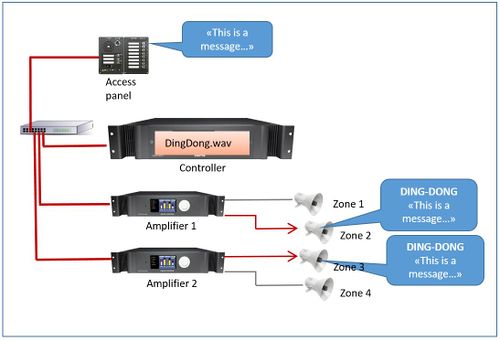
Audio events in Exigo can play a chime signal in front of the audio.
Different chimes can be used to indicate the importance of a message.
The Chimes must be in .wav format:
- 16kHz sample rate
- 16 bit resolution
- Mono
A guide on how to generate .wav files can be found here.
- A total of up to 10 Mbyte of customized .wav-files can be uploaded in the controller.
- Uncompressed PCM will give approx. 5 minutes (320 seconds).
- Using MS ADPCM will give approx. 21 minutes (1280 seconds) (MS ADPCM can be used for speech).
- * Maximum 99 chimes.
Upload Audio To The Controller
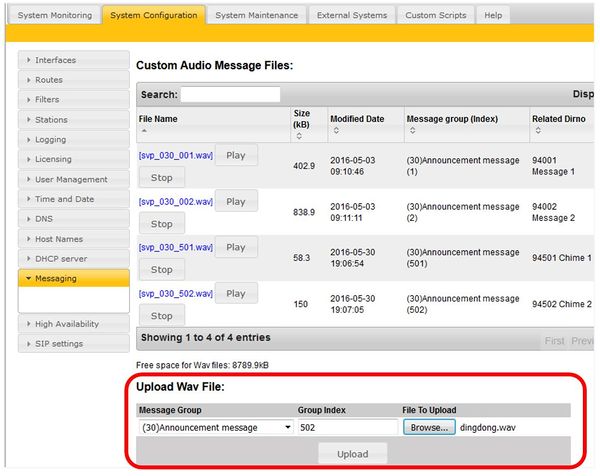
The Chimes are uploaded via the web interface of the Primary System Controller PSC:
- Log in to the Primary System Controller. Default username: admin and password: alphaadmin.
- Navigate to System Configuration > Messaging.
- Select Message Group 30 in Message Group.
- The Group Index reflects the Chime in EMT - Group Index 501 is Chime 1, Group Index 502 is Chime 2 and so on.
- Browse to the .wav file you want to upload.
- Click Upload.

