Difference between revisions of "Control Inputs"
Jump to navigation
Jump to search
(→Configuration) |
|||
| Line 24: | Line 24: | ||
==Configuration== | ==Configuration== | ||
* In '''Components''' view open '''Input Actions''' | * In '''Components''' view open '''Input Actions''' | ||
| + | * In '''System, identify the device and expand to '''Control Inputs''' | ||
| + | * Drag the desired '''Input Action''' to the '''on_action''' or the '''off_action''' | ||
| + | * Set relevant parameters in the dialog box that appears | ||
| + | |||
[[Category:3rd party integration]] | [[Category:3rd party integration]] | ||
[[Category:Input Actions]] | [[Category:Input Actions]] | ||
Revision as of 11:51, 7 July 2016
This article describes the control inputs on Exigo in general.
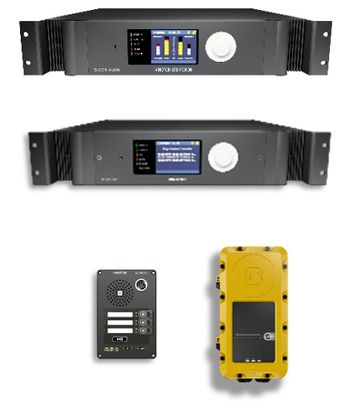
- Control Inputs are available on:
- System Controller
- Amplifiers
- Access Panels (Not EX panels)
- 6 inputs on each device
- Inputs are used e.g. for triggering:
- General Alarm
- Fire Alarm
- Live Speech from external microphone
Control Inputs - Connections
Connections on rack devises
Connections on access panels
Configuration
- In Components view open Input Actions
- In System, identify the device and expand to Control Inputs
- Drag the desired Input Action to the on_action or the off_action
- Set relevant parameters in the dialog box that appears


