Difference between revisions of "Flowire Software Upgrade Procedure"
(→Upgrade using VS-IMT) |
(→Upgrade using VS-IMT) |
||
| Line 97: | Line 97: | ||
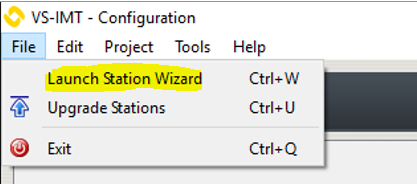
* From the file menu select Launch Station Wizard | * From the file menu select Launch Station Wizard | ||
[[File:Flowire Upgrade 11.png|thumb|left|500px]] | [[File:Flowire Upgrade 11.png|thumb|left|500px]] | ||
| + | <br style="clear:both;" /> | ||
| + | |||
| + | * A new window opens, click next. | ||
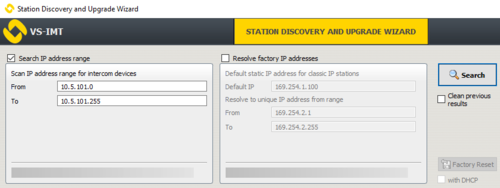
| + | * In the Discovery part enter the correct IP range to be scanned and click Search: | ||
| + | [[File:Flowire Upgrade 12.png|thumb|left|500px]] | ||
<br style="clear:both;" /> | <br style="clear:both;" /> | ||
Revision as of 07:52, 10 February 2017
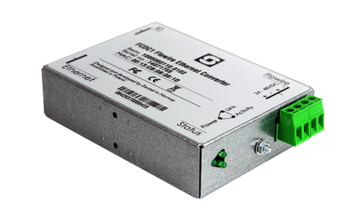
This article describes how to upgrade the software in Flowire devices.
There are different ways, depending on how old the current software is:
- If the current software is 4.x, the upgrade can be done from the web page of the Flowire unit, or by using the VS-IMT tool
- * If the current software is 1.x or 2.x, the upgrade must be done via the serial interface of the Flowire unit
Contents
How to determine the current software version
- Hardware version 0105 (Item: 1008080110.0105) and newer has version 4.x installed from factory, and can be upgraded via the web interface or via the VS-IMT tool.
- Hardware version 0104 (Item: 1008080110.0104) and older has version 1.x or 2.x installed from factory, and must be updated via the serial interface.
You can also check the Flowire unit from you PC: If you can ping the device, but not access it via the web browser, it is an old software version and it must be upgraded via the serial interface.
Upgrading from software version 4.x
Upgrade via the Flowire Web Interface
Flowire units with software version 4.x can be upgraded through the web interface of the Flowire.
The Flowire units are automatically assigned an IP address from the network if there is a DHCP server present. You can then access the Flowire units web interface one by one and perform the upgrade.
If there is no DHCP server on the network, the Flowire units will by default have a static IP address 169.254.1.10. In this case there will be multiple Flowire units with the same IP address on the network, and you need to isolate the Flowire unit which is going to be upgraded from the others in the network.
Although it is not necessary for the Flowire to perform its function, it is good practice to change the static IP to something unique at the same time, for easier maintenance in the future.
Prerequisites
- TFTP Server: This upgrade method require that an TFTP Server is available. A TFTP Server program can be downloaded from http://tftpd32.jounin.net.
- Software package: The latest software package must be downloaded from the download site. Unzip the files to a folder.
Upgrading
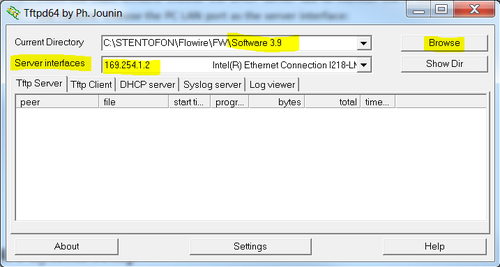
- Start the TFTP server and Browse to the folder where the software files are stored.
Use a standard web browser and enter the IP address of the Flowire (e.g. 169.254.1.10) in the address field.
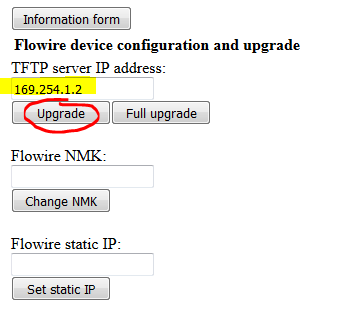
Enter the TFTP server IP address and select Upgrade.
Upgrade: Upgrades the software and keeps all custom settings
Full Upgrade: Upgrades the software and performs a reset to factory settings
As a precaution you should set the NMK again after update
Upgrade using VS-IMT
1) Requirements
- Windows PC
- DHCP server. (If there is no DHCP server in the network, a temporarily DHCP server can be set up using for example Tftpd32 or Tftpd64 by Ph. Jounin (http://tftpd32.jounin.net)
- Simple switch
- Ethernet cables
- Flowire unit(s)
- Flowire power supply
If there is a DHCP server already in the network, please skip to point 4.
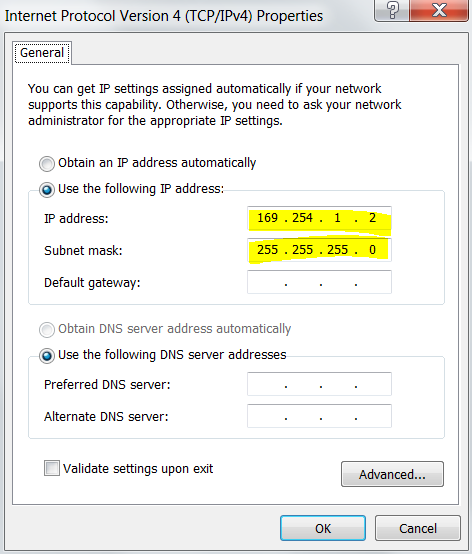
2) PC setup Set static IP address 169.254.1.2 on your PC
3) DHCP server setup
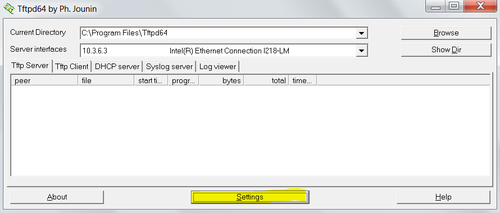
- Start the Tftpd
- Click the settings button:
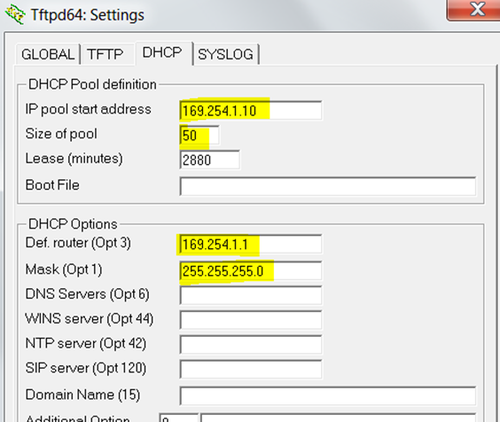
- Choose the DHCP tab and set these settings:
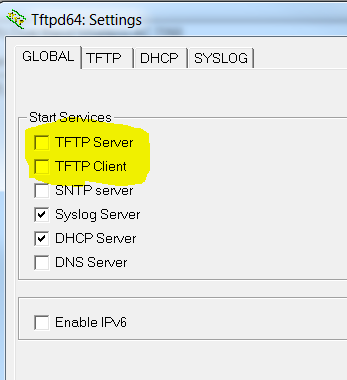
- Choose the Global tab and make sure TFTP Server and TFTP Client are disabled:
- Finish with OK
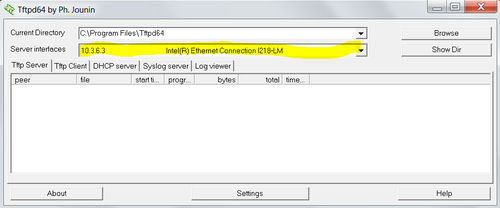
- From the main window choose the DHCP server tab to monitor the IP address given to the Flowire. Choose the PC LAN port as the server interface:
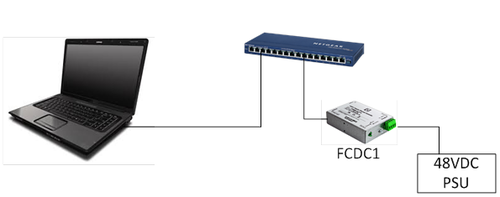
4) Physical setup
- Connect the PC to the switch using a LAN cable.
- Connect the Flowire to the switch using a LAN cable
- Connect the power supply to the Flowire unit
5) Run IMT
- Before runing IMT (Intercom Manager Tool) the latest software should be placed in the repository.
- The folder with the Flowire software (zenitel-flowire-4.x.x.x) should be placed in:
C:\users\[username]\Documents\Intercom Manager Tool\sw_repo
In the Windows PC start the IMT application. When it has started you must enter a project. Simply select an existing project or create a new one.
- From the file menu select Launch Station Wizard
- A new window opens, click next.
- In the Discovery part enter the correct IP range to be scanned and click Search:
A guide to upgrade using VS-IMT can be found in the A100K11422 Flowire Configuration Manual.
