Difference between revisions of "Turbine to PC physical connection"
Jump to navigation
Jump to search
(→Modifying the cable) |
(→Modifying the cable) |
||
| Line 18: | Line 18: | ||
There is no soldering or crimping required for this process. | There is no soldering or crimping required for this process. | ||
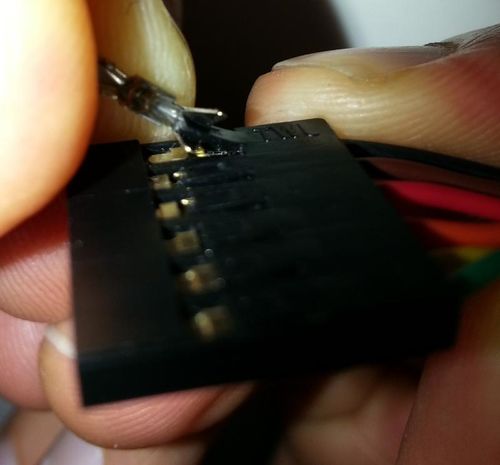
| − | First remove the metal connectors from the plastic casing. This is done by lifting the small plastic clip and then pulling the wire | + | First remove the metal connectors from the plastic casing. This is done by lifting the small plastic clip and then pulling the wire: |
[[File:PC turbine cable 3.jpg|thumb|left|500px|Remove the metal connectors]] | [[File:PC turbine cable 3.jpg|thumb|left|500px|Remove the metal connectors]] | ||
<br style="clear:both;" /> | <br style="clear:both;" /> | ||
| Line 29: | Line 29: | ||
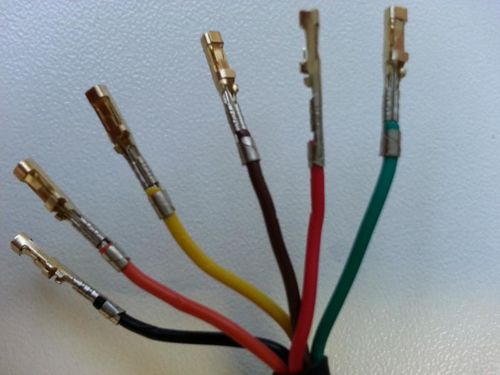
[[File:PC turbine cable 5.jpg|thumb|left|500px|All metal connectors removed]] | [[File:PC turbine cable 5.jpg|thumb|left|500px|All metal connectors removed]] | ||
<br style="clear:both;" /> | <br style="clear:both;" /> | ||
| + | |||
| + | |||
[[Category:Troubleshooting]] | [[Category:Troubleshooting]] | ||
Revision as of 10:10, 17 August 2016
This article describes how to make a USB to serial cable. With this cable it is possible to connect direct to Turbine units. This is useful when you have a unit that is bricked.
Preparing the cable for PC-Turbine serial connection
To connect the Turbine with the PC we have to modify the serial to USB cable.
The cable that we will use can be found here.
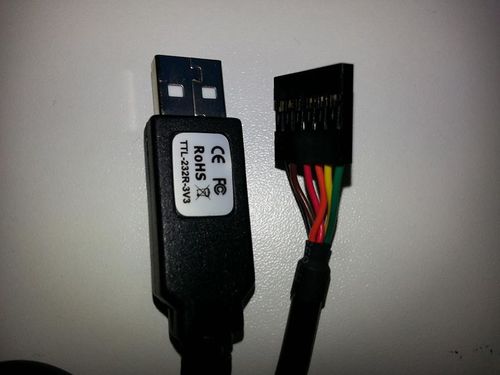
The original cable looks like this:
When the modification is done it should look like this:
Modifying the cable
There is no soldering or crimping required for this process.
First remove the metal connectors from the plastic casing. This is done by lifting the small plastic clip and then pulling the wire:
All the metal connectors must be removed:
When all the connectors are removed the cable should look like this:


